Clean Installing Windows 11 on a MSI Laptop
The Beginning
I bought the MSI GE68HX Raider laptop from costco. When I got it, everything was running smoothly.
On Fortnite, using performance mode, I was able to get 240 FPS stable.
However after installing some Windows updates, everything went downhill.
Man I’m just gonna return this laptop
After I installed the update, I tried to restart Windows.
However, this is where the problems started.
Everytime I tried rebooting the computer, I kept getting stuck in the Automatic Repair Loop.
Even after watching countless tutorials on how to get out of it, nothing worked.
Eventually I had to reset the laptop twice, but the problems still didn’t go away.
The Solution
So, I decided to just try a clean install of Windows 11.
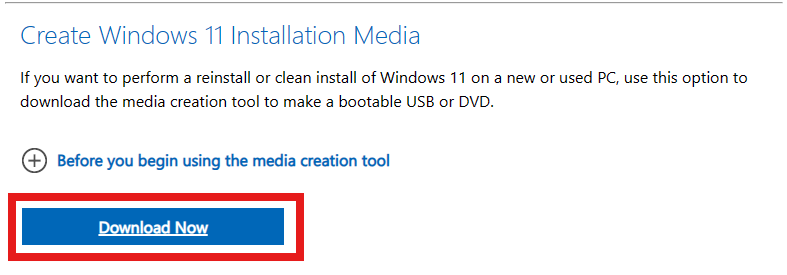
To do this, first install the Media Creation Tool from Microsoft
Click on this button:
Before running this, make sure to plug in a usb drive that is at least 8 GB which doesn’t have anything important on it.
Then go to MSI’s website and find your laptop model.
Go to the drivers section, click on Intel Rapid Storage Technology and download the Intel Rapid Storage Technology F6 Driver :
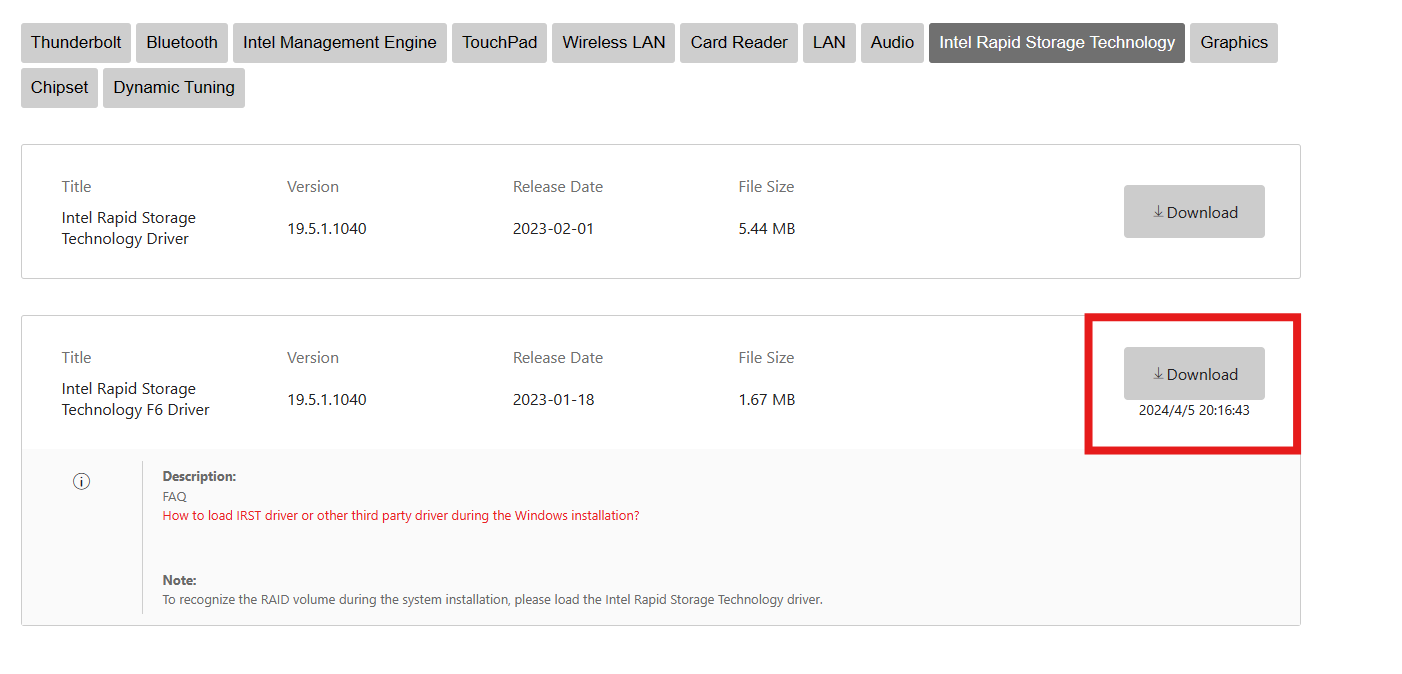
Extract this to the usb drive.
Then click on the Wireless LAN section and download the appropriate driver depending on the wifi card. My computer needs the Killer driver.
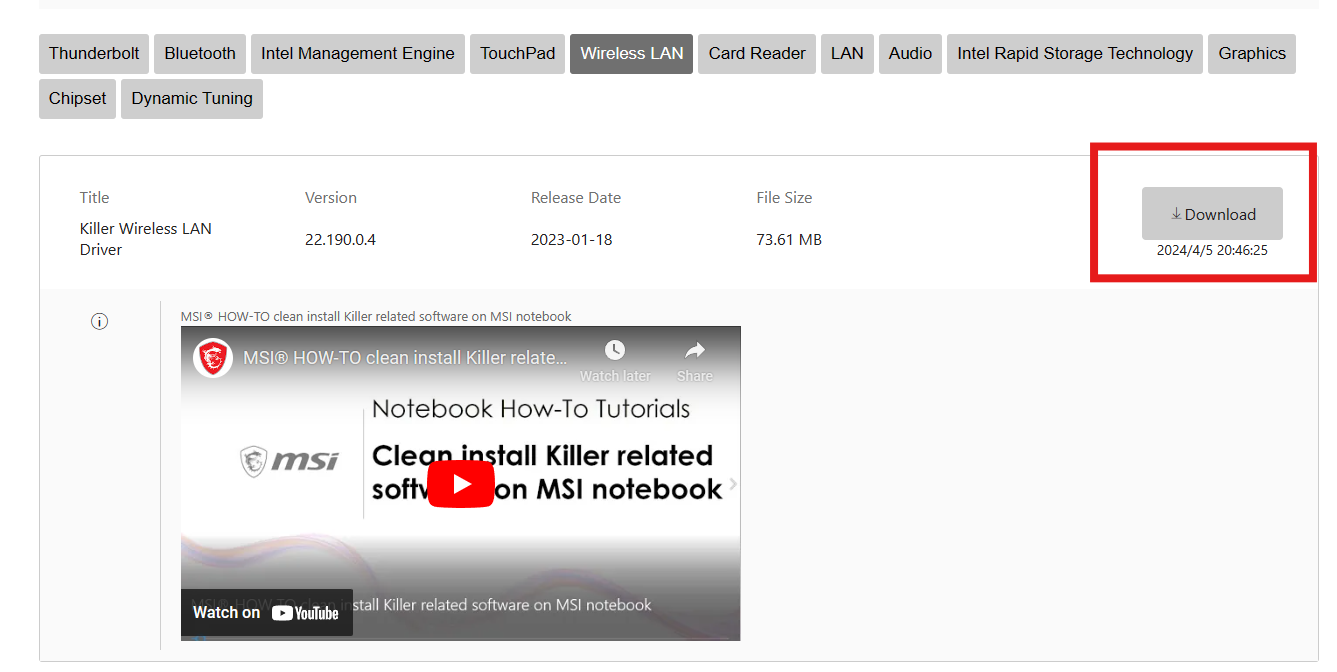
Then, depending on the instructions your driver has, you might need to also download the corresponding LAN drivers.
If you are unsure, make sure to check the install instructions:
WLAN Driver Install Instructions
Intel WLAN Drivers
Killer WLAN Drivers
Do not install any of the drivers yet, just make sure they are extracted in their own folders on the same usb drive that has the Windows Image.
Connect the usb drive to the laptop, and restart it. While it is booting up, make sure to spam your F11 key to open the boot menu.
Select your usb drive from the menu, and it should boot into Windows Setup:
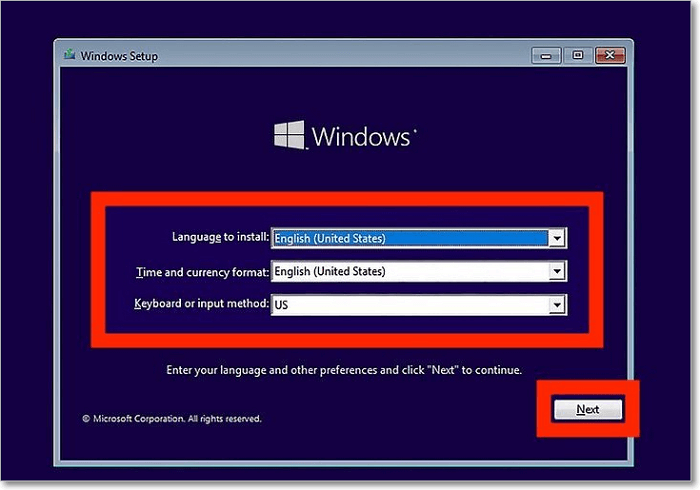
Continue through the prompts and make sure to select Custom:

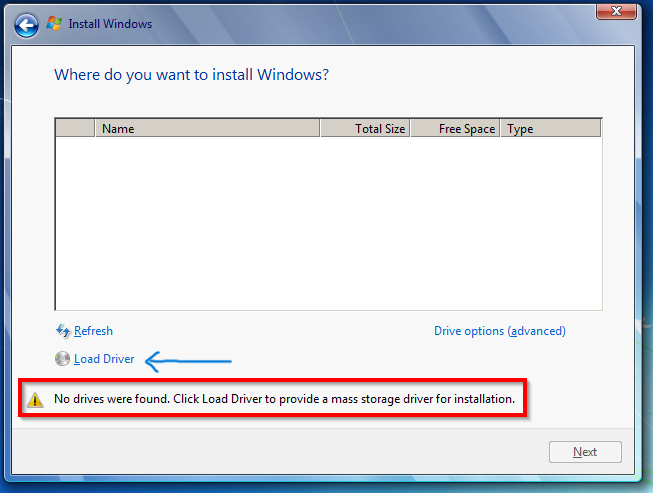
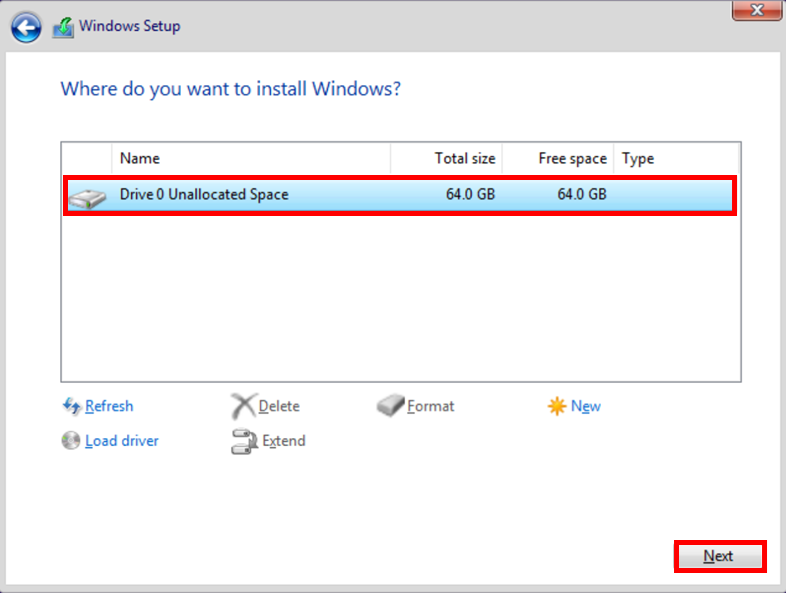
After this when it asks you where you want to install Windows, you might have the problem where no drives are shown:

To fix this, click Load Driver:
Once you click that, it will open up a screen that looks like this. Press the Browse button:
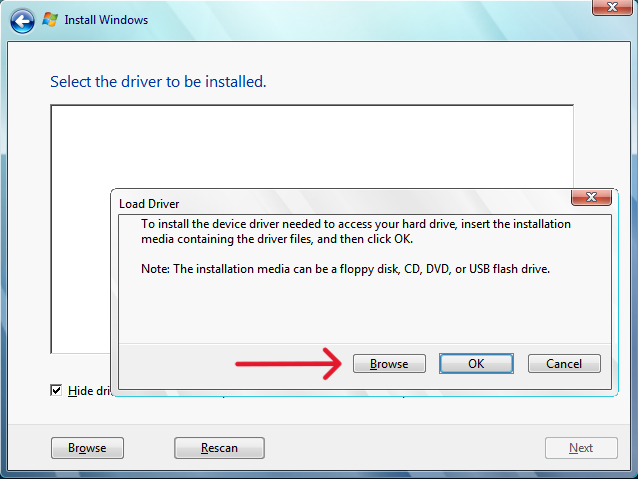
Find the folder of the first driver we installed (Intel Rapid Storage Technology F6 Driver)
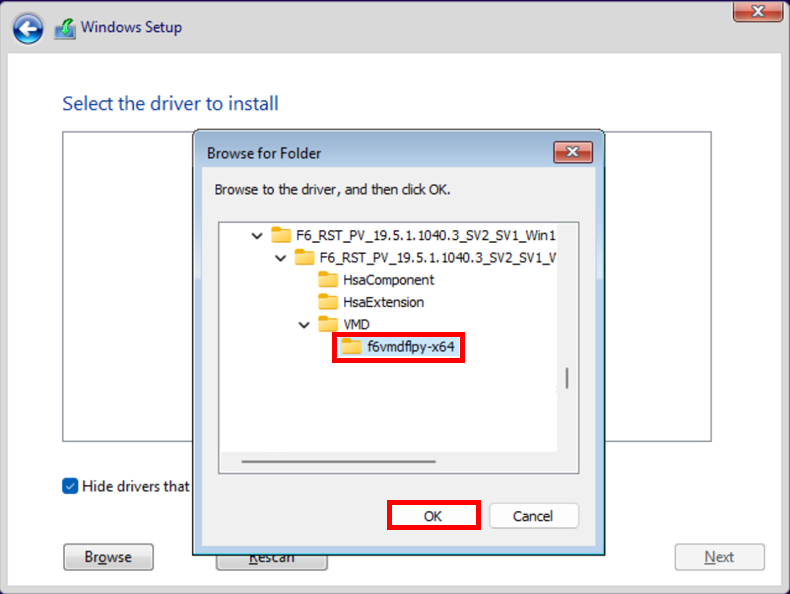
Click Ok and then select the first driver:
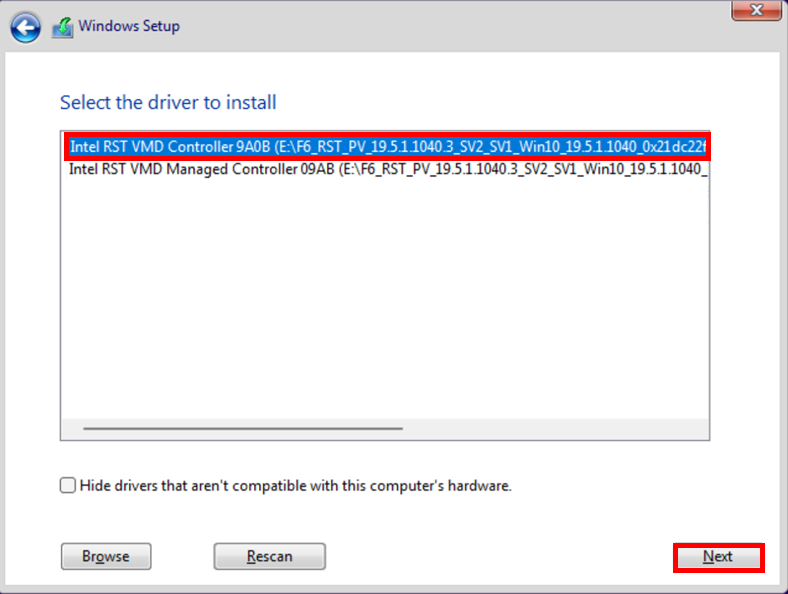
This should fix the issue of no drives showing:
Continue through the setup process and everything should work.
Once you reach the Windows 11 Wifi setup:
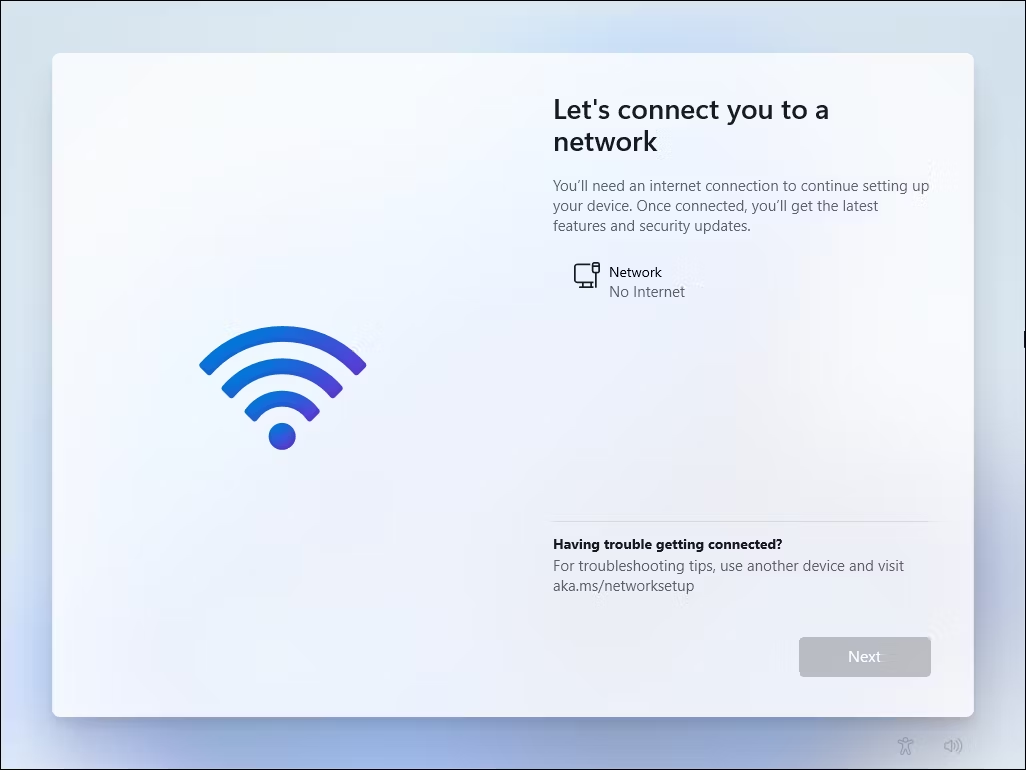
Press Shift+F10 to open the terminal.
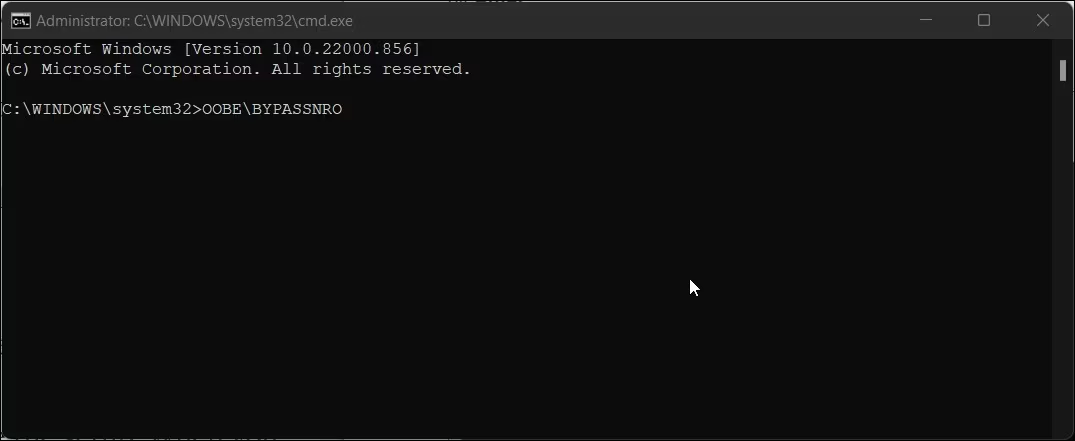
If typing isn’t working, make sure to use Alt+TAB to select the CMD window
In the terminal type: OOBE\BYPASSNRO
The setup should restart and there will be a new option at the Windows 11 Wifi setup:
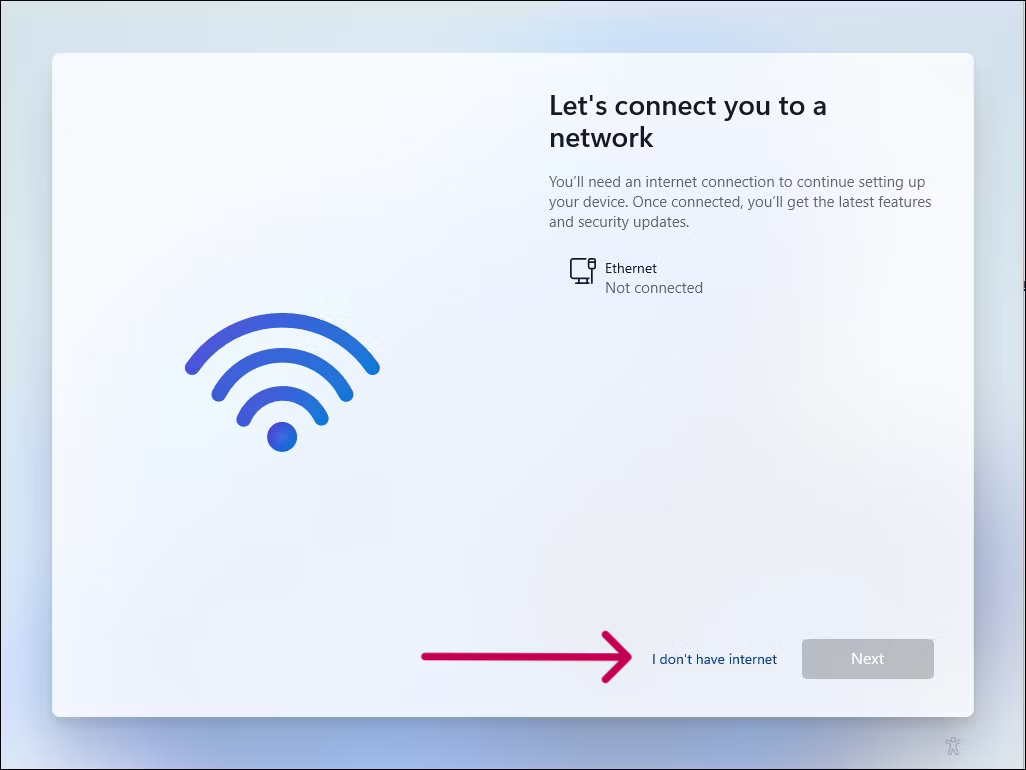
Click I don't have internet.
Continue through the rest of the setup and everything should work.
Once the setup is complete, you will notice that you don’t have access to the internet and a lot of drivers are missing.
To fix this, follow the installation steps provided earlier
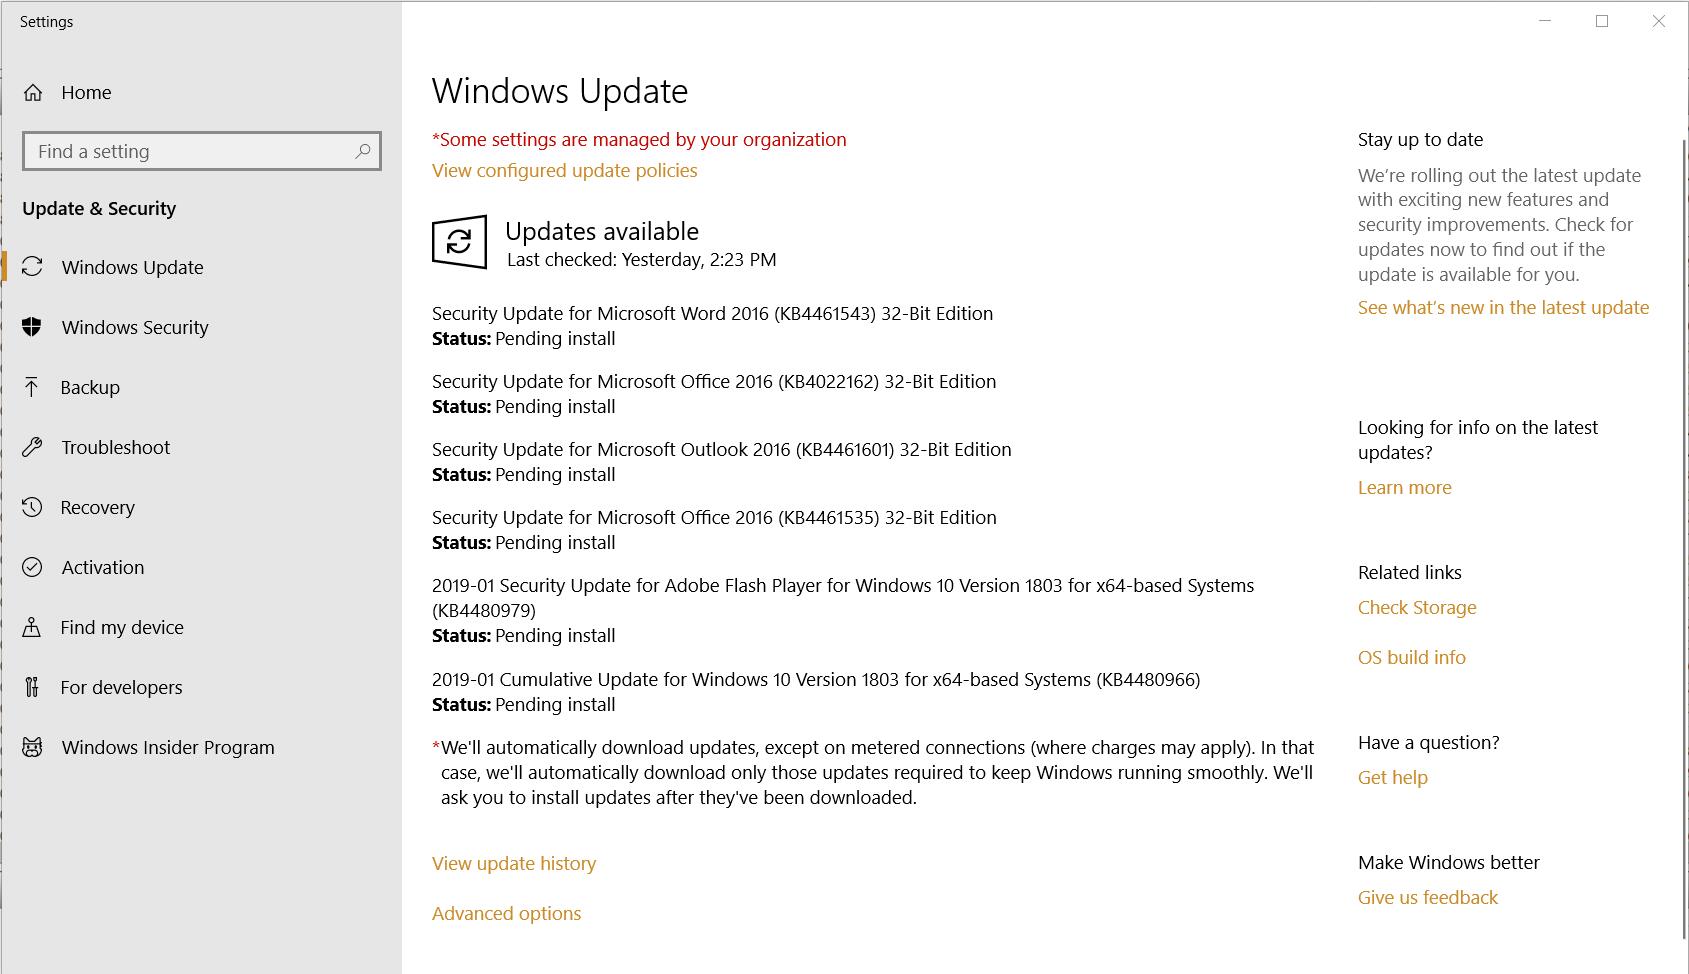
Finally run Windows Update in the settings, and the rest of the drivers should be installed.
Thats everything you need to do to get a clean install.
If you are still getting errors, then make sure it isn’t something external causing it, like a docking station.